Quick Guide to Set up & Connect the Canon Selphy CP1300 to the WiFi Network
Canon is considered as one of the impressive and phenomenal brands that blow the mind of many people. The printing performance of the Canon printer is superlative. Its printing speed is unmatched with any other printer available in the market. Most of the Canon printers are known as all-in-one printers by using which you can print, scan, fax, and copy at a time. Though the Canon printer is highly efficient in its performance, still some people may face technical glitches while using it. If you will need assistance for the Canon Selphy CP1300 Troubleshooting, then directly take the help of the experienced professionals. You may also visit the official website of Canon to know more about it.
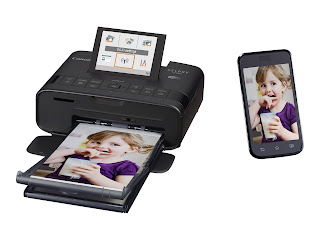
The invention of the printer is the greatest blessing. It can be used anywhere such as in schools, offices, universities, shops, etc. When it comes to choosing the best printer, then Canon Selphy CP1300 is the top-most printer model. It has been designed with all the new features that make your daily life easy.
Step By Step Guide to Setup the Canon Selphy CP1300 Printer
- The first step is to unbox the Canon Selphy CP1300 Printer.
- To do so, you need to take the Canon selphy cp1300 out of the package.
- Now check for the seal and then place the Canon printer on a surface.
- After that, collect all the accessories of the printer package.
- You must install the latest and compatible printer driver in your system.
- Now connect the Canon printer with the PC.
- All you need to do is to open the Canon selphy cp1300 and then fit it in the ink cartridge.
- In the next step, load a sufficient amount of papers.
- Now you are good to go.
- Take out the test printout in order to check if the printer setup is fine or not.
Simple Steps to Connect the Canon Selphy CP1300 to the WiFi Network
- The initial step is to check if the access point is ready for communication or not.
- Then you need to remove the memory card from the Canon Selphy CP1300.
- In the next step, open the Setting screen.
- Then tap on the WiFi settings.
- Select the Connection Method Via the Wi-Fi Network.
- You can access the Direct Connection.
- Make use of the arrow buttons and then choose the WPS Connection.
- Now under the WPS Connection, you need to find the PBC Method and then click on it.
- Simply, press the access point button. You are guided to keep pressing the WPS button for some time.
- As soon as the connection to the Access point message will be displayed, simply click on the OK button.


Comments
Post a Comment